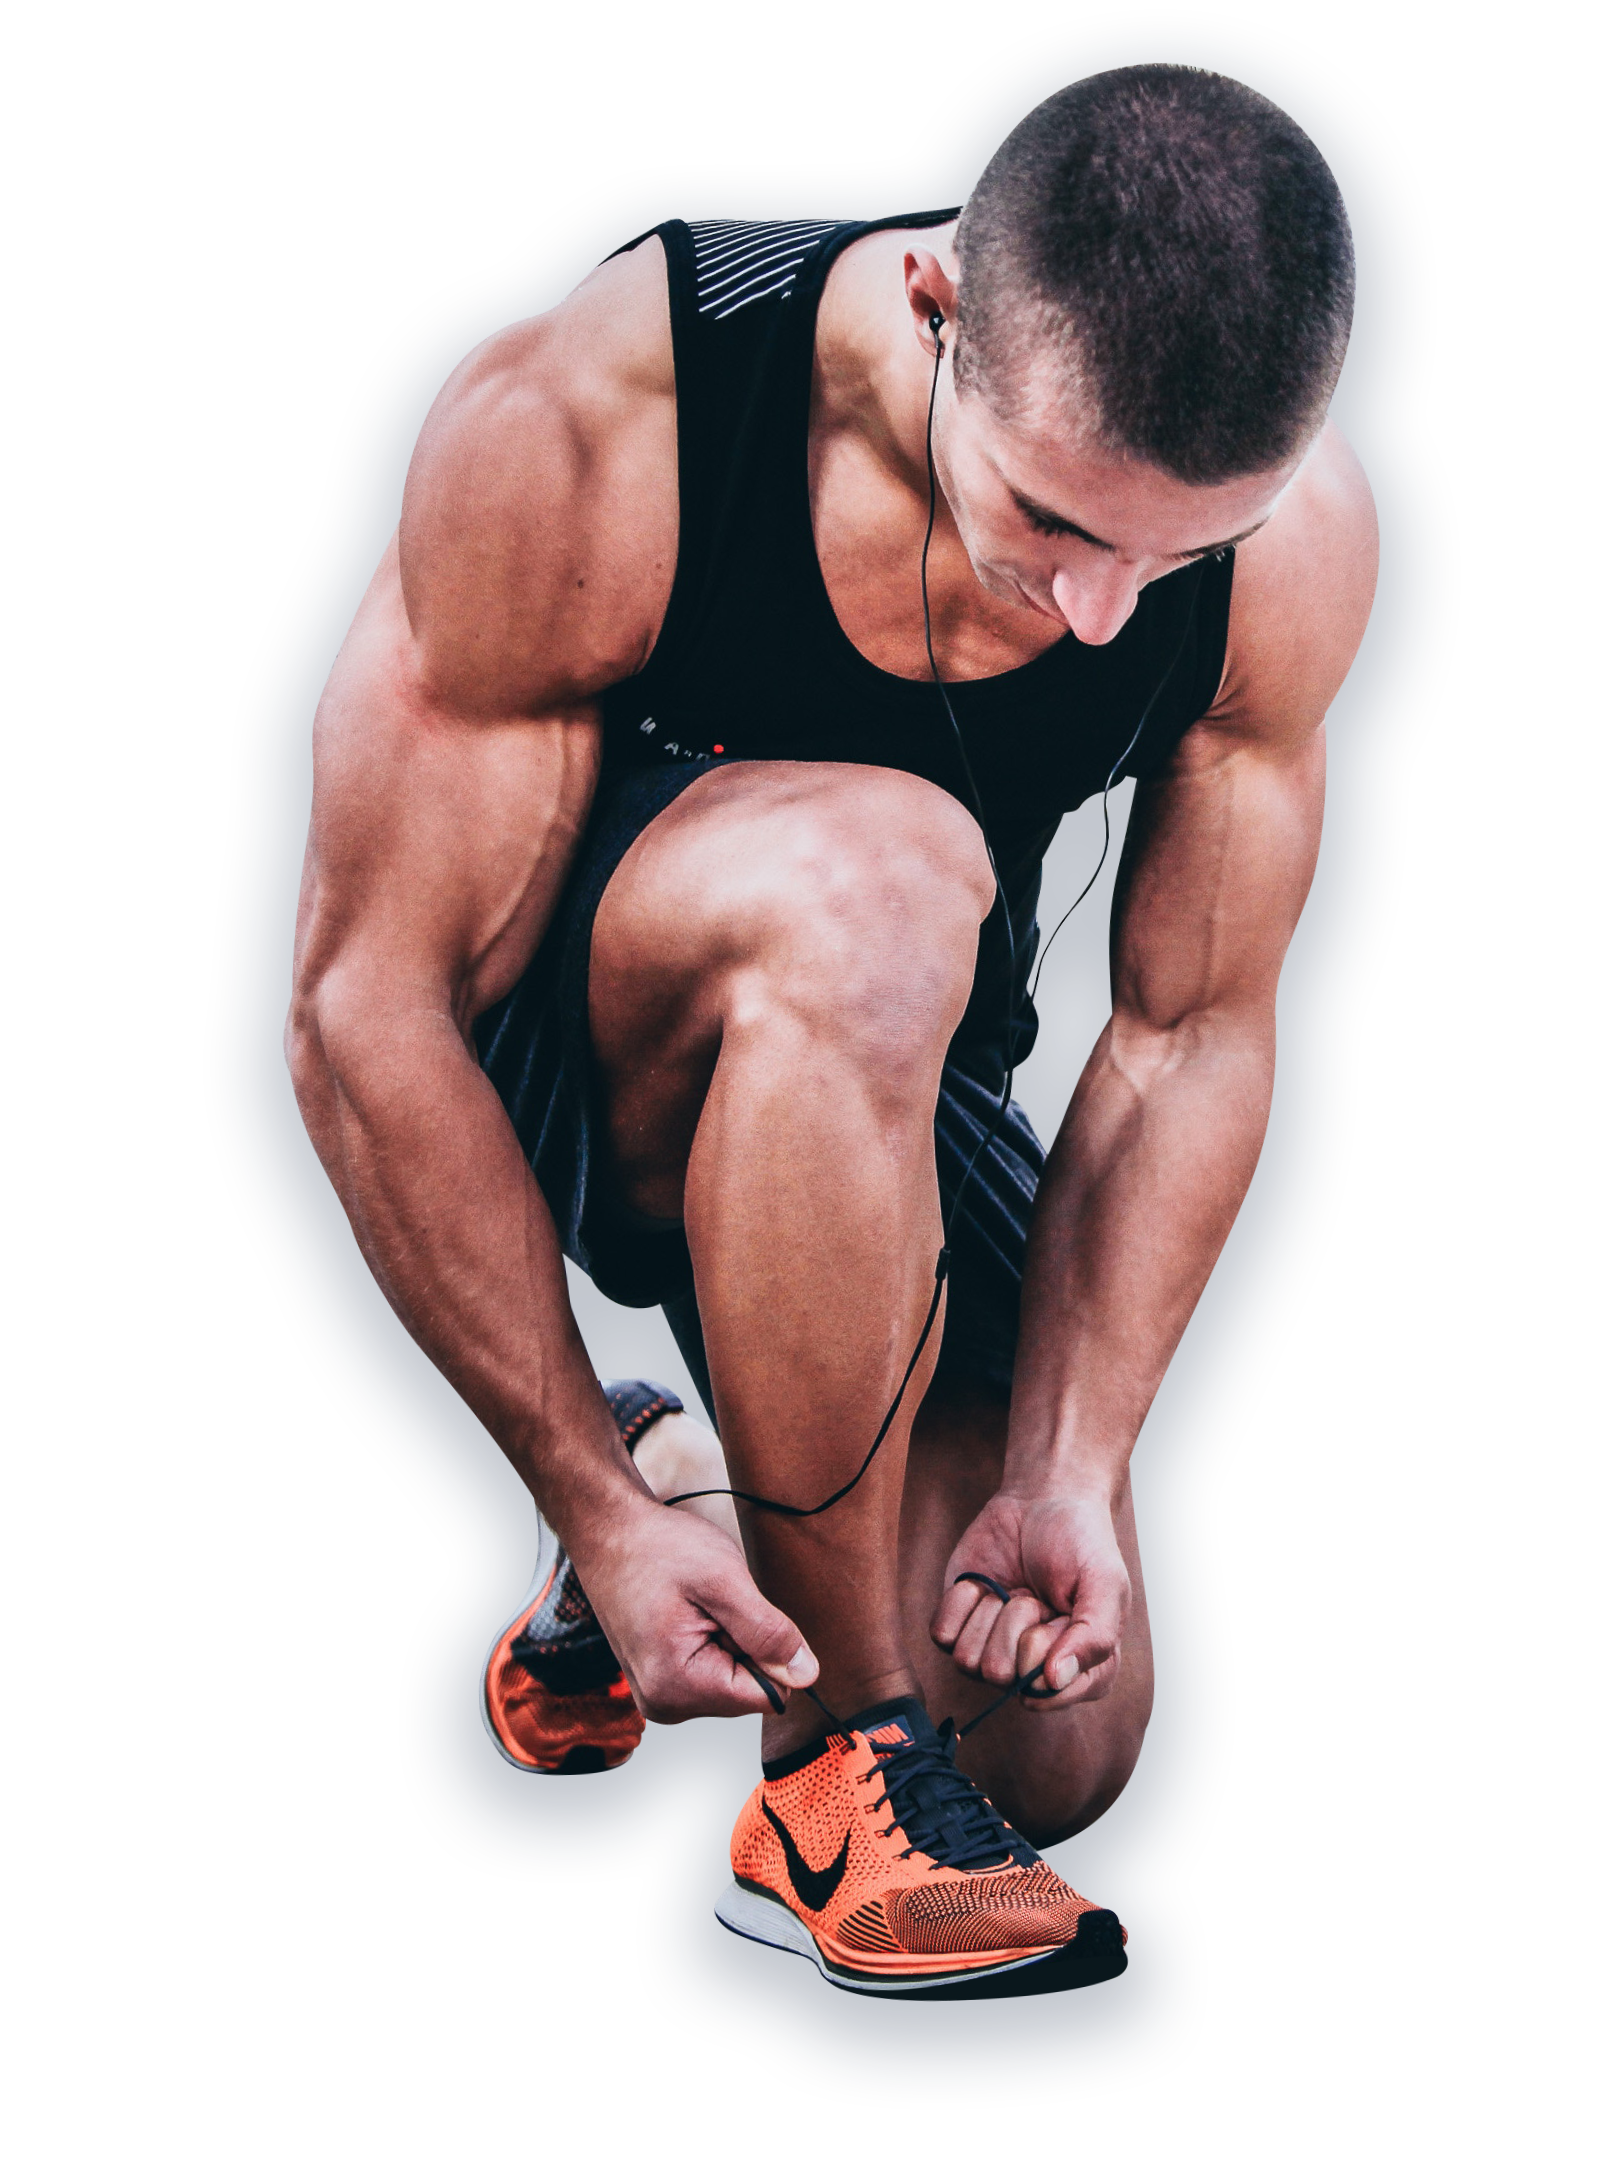
Alright, let’s talk about that post-workout feeling. You know the one. You absolutely crushed your session, felt like a total superhero capable of leaping tall buildings, and then… BAM. The next day (or maybe even two days later, thanks Delayed Onset Muscle Soreness, or DOMS!), walking down stairs feels like navigating a minefield, lowering yourself onto the couch requires a strategic plan, and every muscle fiber seems to be staging a protest.
The struggle is so real, but guess what? You don’t have to just grit your teeth and suffer through it! Prioritizing and speeding up your recovery isn’t just about feeling less achy; it’s about reducing your risk of injury, allowing you to train more consistently, and ultimately, getting better results and feeling awesome faster. Ready to seriously level up your recovery game? Let’s dive deeper into three game-changing tools: foam rollers, massage guns, and the oh-so-refreshing (and slightly intimidating) world of cold therapy.
1. Foam Rolling: Your Sore Muscle BFF (Best Foam Friend?)
Think of a foam roller as your personal, on-demand (and very affordable) massage therapist. It’s essentially a firm cylinder, usually made of compressed foam, that you use to apply pressure to your muscles, giving yourself a form of self-massage called Self-Myofascial Release (SMR). Fancy term, simple idea: you’re helping to release tension in your muscles and the connective tissue around them (fascia).
Why it’s Awesome (The Deeper Dive):
- Smooths out knots & adhesions: Helps release those tight, tender spots (trigger points) that scream when you touch them. Over time, intense exercise can cause little “adhesions” or knots in your muscle fibers and fascia. Rolling helps to break these up, restoring normal movement. Imagine kneading out stubborn lumps in dough – it takes a little pressure and patience!
- Boosts circulation: Applying pressure increases blood flow to the targeted area. This rush of fresh blood brings oxygen and nutrients that muscles need to repair and rebuild after being worked hard. Better circulation also helps flush out metabolic waste products that can contribute to soreness.
- Improves flexibility & range of motion: By releasing tension and loosening up tight muscles and fascia, foam rolling can help you move more freely. Think about tight hamstrings limiting your squat depth – rolling them out might just give you those extra few inches! It’s not magic stretching, but it helps prepare the muscles to be stretched effectively.
How to Roll Like a Pro (More Tips):
- Go SLOW: Seriously, resist the urge to speed roll! Moving slowly allows the muscle time to relax under the pressure and helps you pinpoint those extra tight spots. Think inches per second, not feet.
- Pause & Breathe: When you find a particularly tender spot (your “sweet spot” of soreness), don’t just roll past it. Pause there for 20-30 seconds. Take deep, slow breaths. Tensing up defeats the purpose! It might feel intense, but it should be a “good hurt,” not sharp, stabbing pain. If it’s excruciating, ease off the pressure or move slightly off the spot.
- Target Key Areas: Focus on large muscle groups often prone to tightness: quads, hamstrings, glutes, calves, lats, and your upper back (avoid rolling directly on your lower back spine).
- Control the Pressure: Use your arms and legs to support some of your body weight to control how much pressure you’re applying. As you get used to it, or if you have a denser roller, you can apply more weight.
- Avoid Joints & Bones: Rolling directly on bony bits or joints isn’t effective and can be painful or even cause injury. Stick to the muscle belly.
When to Use It: Great for a dynamic warm-up before your workout (5-10 mins focusing on areas you’ll be using) or, more commonly, as part of your cool-down routine after training (10-20 mins). It’s also fantastic on rest days to work out lingering soreness.
Ready to roll? Finding the right roller matters! Denser rollers offer deeper pressure but can be intense for beginners. Textured rollers have knobs and ridges for targeting specific spots. Start softer if you’re new!
2. Massage Guns: Power Up Your Recovery Arsenal
These gadgets look like something out of a sci-fi movie or a carpenter’s toolkit, and honestly, they pack a punch – in a good way! Massage guns utilize percussion therapy: rapid, repetitive bursts of pressure that penetrate deep into muscle tissue. Think of it like a tiny, super-fast jackhammer designed to obliterate muscle tension.
Why They Rock (The Percussive Power):
- Deeper, Focused Relief: The rapid pulses can reach deeper muscle layers than you might achieve with just a foam roller, breaking up stubborn knots and adhesions effectively.
- Super Targeted Attack: Perfect for zoning in on specific, hard-to-reach problem areas. Got a persistent knot in your upper trap from sitting at a desk, or a tight spot deep in your glute? A massage gun with the right attachment can hit it precisely. Bam!
- Quick & Efficient: You can effectively treat a muscle group in just a couple of minutes, making it easy to fit into even a busy schedule. Great for pre-workout activation or post-workout relief.
- Reduces Soreness & Stiffness: By increasing blood flow and releasing tension, massage guns can significantly cut down on that post-exercise stiffness and soreness (DOMS).
How to Use It Safely & Effectively:
- Start Low & Slow: Always begin on the lowest speed setting. You can gradually increase the intensity as needed, but more isn’t always better. Let your muscles adapt.
- Float, Don’t Force: Glide the gun gently over the muscle belly. You don’t need to apply significant extra pressure – the percussion does the work. Pressing too hard can be counterproductive or even cause bruising.
- Keep it Moving: Don’t hold the gun in one single spot for too long, especially on higher settings. Keep it moving smoothly across the muscle group. Aim for 1-2 minutes per area.
- Bone Zone is a No-Go: Absolutely avoid using the gun directly on bones, joints, tendons, major nerves (like behind the knee or elbow), or sensitive areas like the front of your neck or spine. Stick to the meaty parts of the muscles.
- Master the Attachments: Most guns come with various heads:
- Ball: Great all-rounder for large muscle groups (quads, glutes, chest).
- Flat Head: Good for denser muscle groups and covering more surface area.
- Bullet: Excellent for pinpointing specific trigger points and deep knots (use with caution!).
- Fork/Spine: Designed to work on muscles around the spine or Achilles tendon, not directly on them.
When to Use It: Fantastic for post-workout recovery to tackle immediate tightness. Also great on rest days for targeted relief or even for a quick pre-workout activation of specific muscles (use lightly and quickly).
Feel the power! Investing in a massage gun can be a serious recovery game-changer, especially if you deal with chronic tightness or deep knots.
3. Cold Therapy: Chill Out, Literally!
Okay, let’s address the frosty elephant in the room. The idea of willingly plunging into icy water might sound like torture, but cold therapy is a time-tested recovery technique used by athletes for decades, and for good reason. It encompasses everything from simple cold showers and targeted ice packs to full-on ice baths (Cold Water Immersion – CWI) or even high-tech cryotherapy chambers.
Why It Works Wonders (The Science of Chill):
- Fights Inflammation & Swelling: Intense exercise causes micro-tears in muscles, leading to inflammation. Cold exposure causes vasoconstriction (narrowing of blood vessels), which helps reduce blood flow to the area temporarily, thus limiting swelling and the inflammatory response. Think of it like putting ice on a sprained ankle.
- Numbs Soreness & Pain: That chilly sensation has an analgesic (pain-relieving) effect. It dulls nerve endings, providing temporary relief from muscle aches and that burning feeling.
- Potential ‘Flush’ Effect: When you get out of the cold and start warming up, vasodilation occurs (blood vessels open up). This rush of blood flow back to the muscles might help “flush out” metabolic waste products accumulated during exercise.
- Mental Toughness Boost: Let’s be real, enduring the cold takes willpower! Many find it invigorating and a great way to build mental resilience.
How to Approach the Chill Without Freezing:
- Start Small & Simple: You don’t need a dedicated ice bath setup immediately. Begin by finishing your regular shower with 30-60 seconds of cold water. Or, apply a reusable cold pack (wrapped in a thin towel) to particularly sore muscles for 15-20 minutes.
- Gradual Immersion: If you brave an ice bath, don’t just jump in! Start with slightly cool water and gradually add ice or lower the temperature over time. Aim for temperatures around 10-15°C (50-59°F).
- Short Durations: Especially when starting, limit exposure. 5-10 minutes in an ice bath is often plenty. For cold showers, even 1-2 minutes can be beneficial. Listen to your body!
- Focus on Breathing: The initial shock of cold water can make you gasp. Concentrate on taking slow, deep, controlled breaths to manage the sensation and calm your nervous system.
- Targeted Approach: You don’t always need full-body immersion. Soaking just your legs after a hard run or lower body workout can be very effective.
When to Use It: Best utilized relatively soon after a tough workout (within an hour or two) to maximize the anti-inflammatory benefits.
Brave the cold for faster recovery! Whether it’s simple cold packs or exploring dedicated cold plunge tubs, chilling out can significantly speed up healing.
The Takeaway: Your Recovery Toolkit
You don’t need to resign yourself to hobbling around in pain after every single workout. Being proactive about your recovery by incorporating tools like foam rollers, massage guns, and maybe even embracing the chill of cold therapy can seriously accelerate muscle repair, reduce soreness, minimize injury risk, and ultimately help you train harder, more consistently, and get back to doing what you love, feeling stronger and better than before.
There’s no single “best” method – the magic often lies in finding the combination that works best for your body, your training style, and your schedule. Experiment, pay attention to how your body responds, and don’t be afraid to mix and match. And remember, consistency is key! A few minutes of focused recovery work regularly can make a world of difference. Happy recovering!

